Installing mini-tubs, DSE Quadra Link, and more in son's '69 Camaro

  • Thread starter jerhofer
  • Start date
  • This site may earn a commission from merchant affiliate links like Ebay, Amazon, and others.

jerhofer

Veteran Member
Jun 4, 2009
490
Rockwell, NC
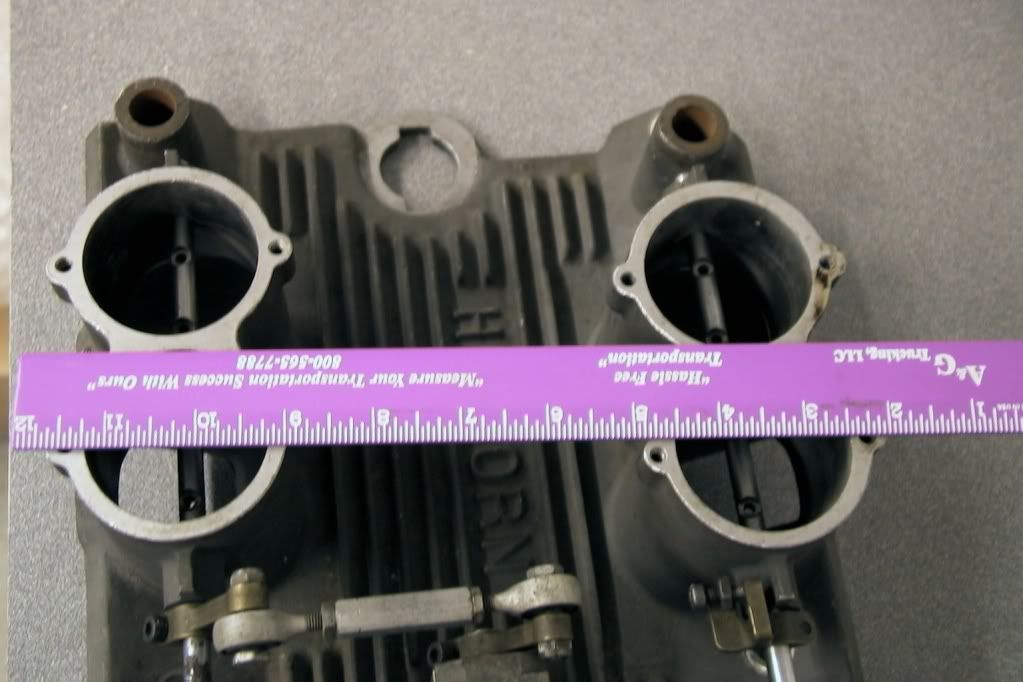
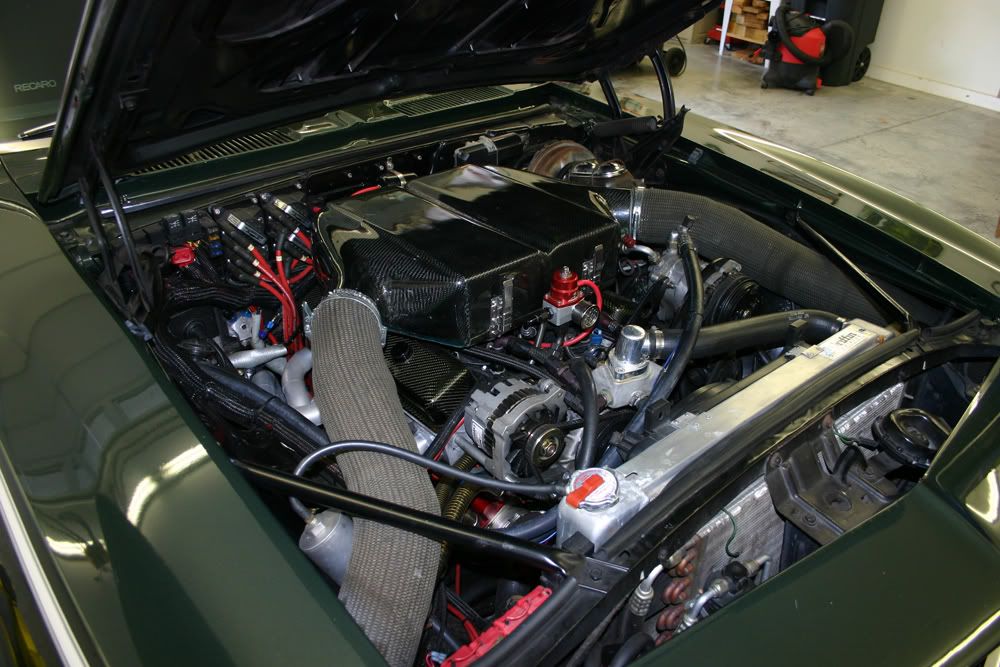
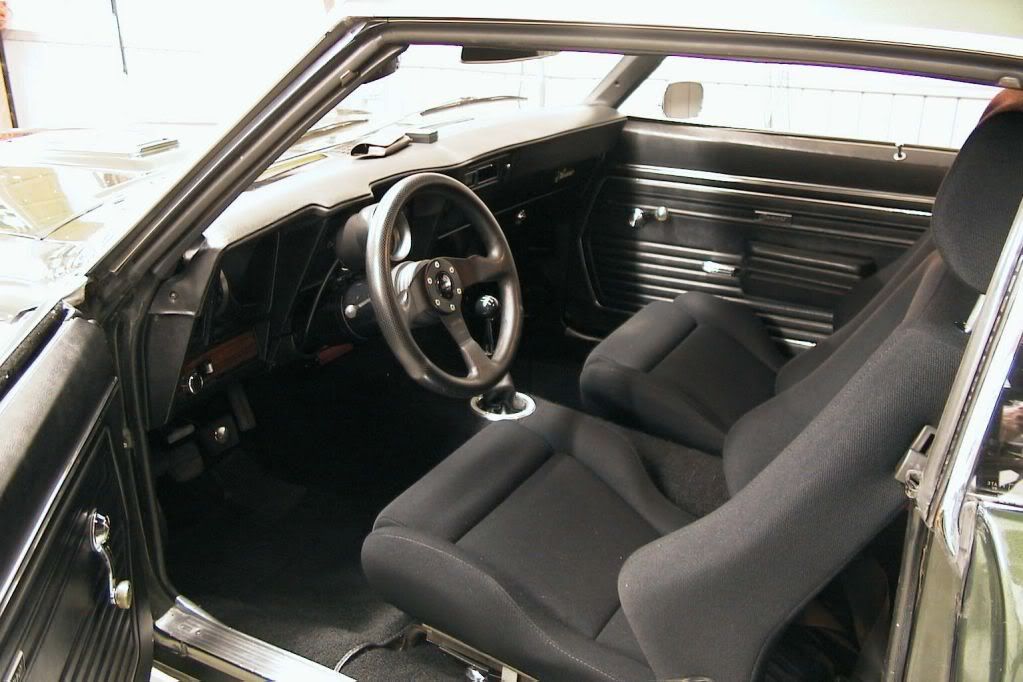
My son has a 1969 SS Camaro that he has owned for 12 years. Over the years he has installed Vintage Air, Tremec 5 speed, and a fuel injection system that he designed and built from scratch.

SCcamarolf.jpg


8-17-08Fuelinjectionfromright.jpg


4-28-03Recaroseatsdashshot2.jpg


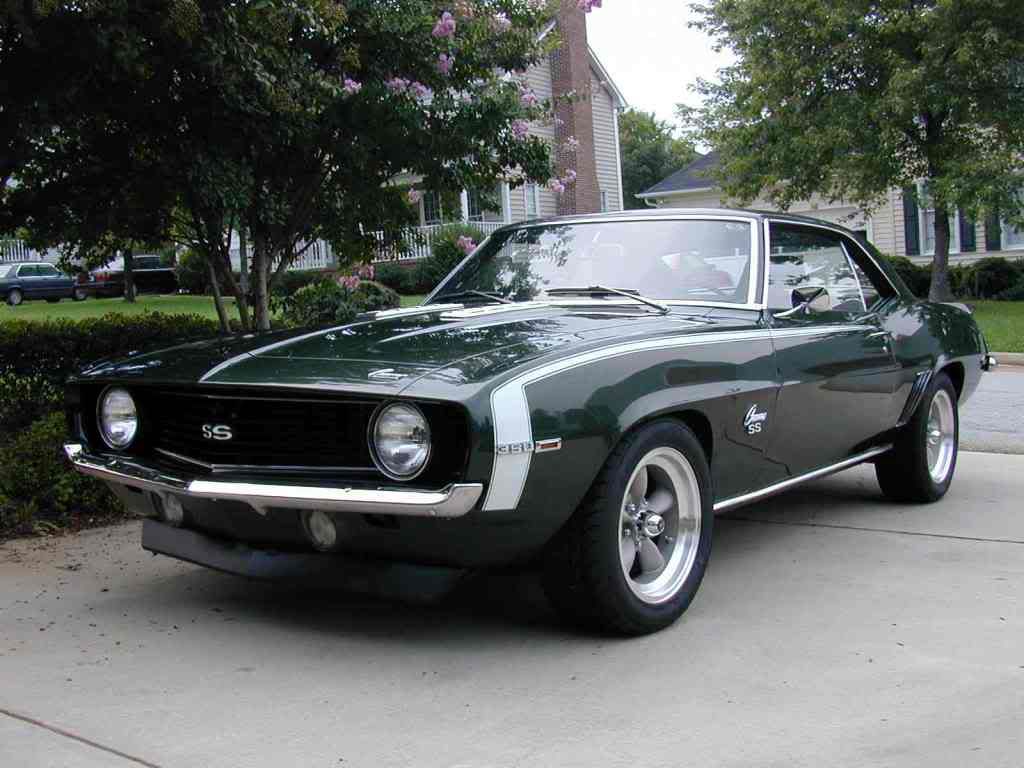
In an attempt to reduce the stress cracks that appear from twisting of the body under torque, he had decided to replace the rear frame pieces and install heavy duty frame connectors. We are also going to mini-tub it and install the DSE Quadra-Link rear suspension. This may be a trial run as I may install this same system on my '77 down the road.

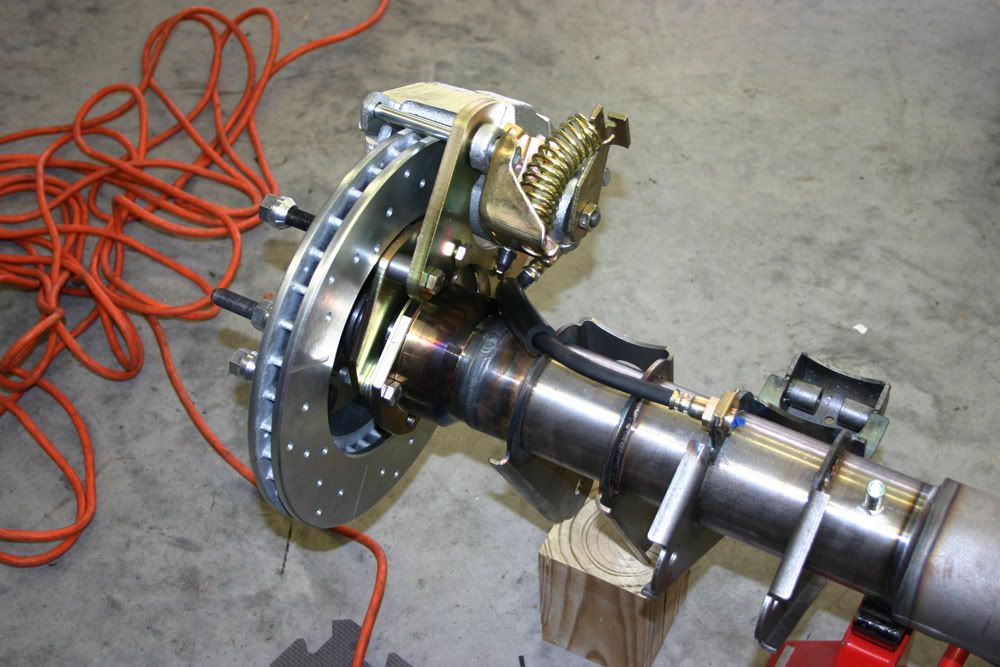
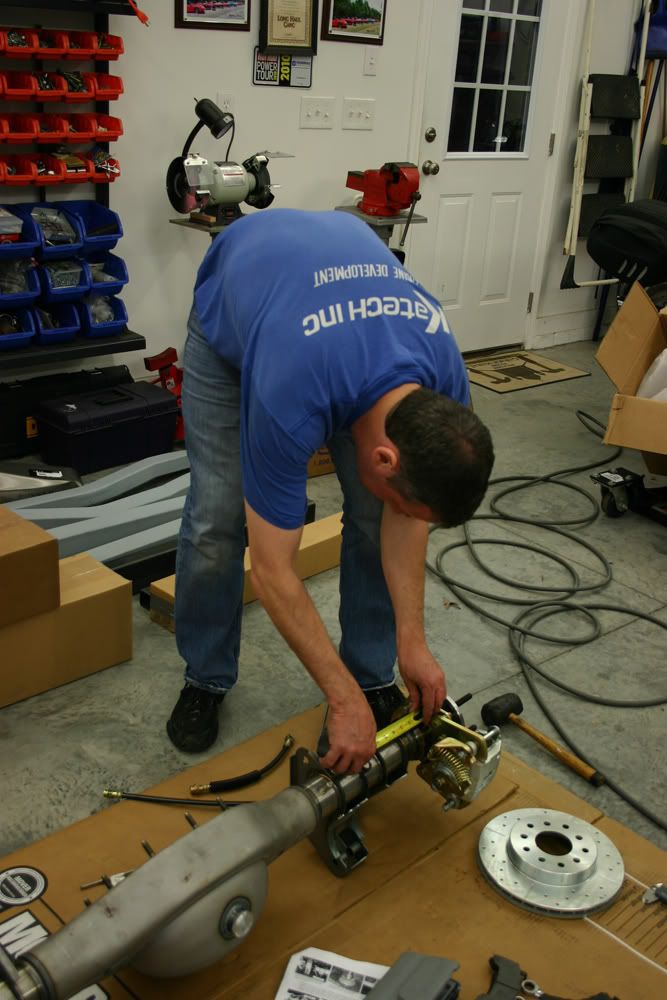
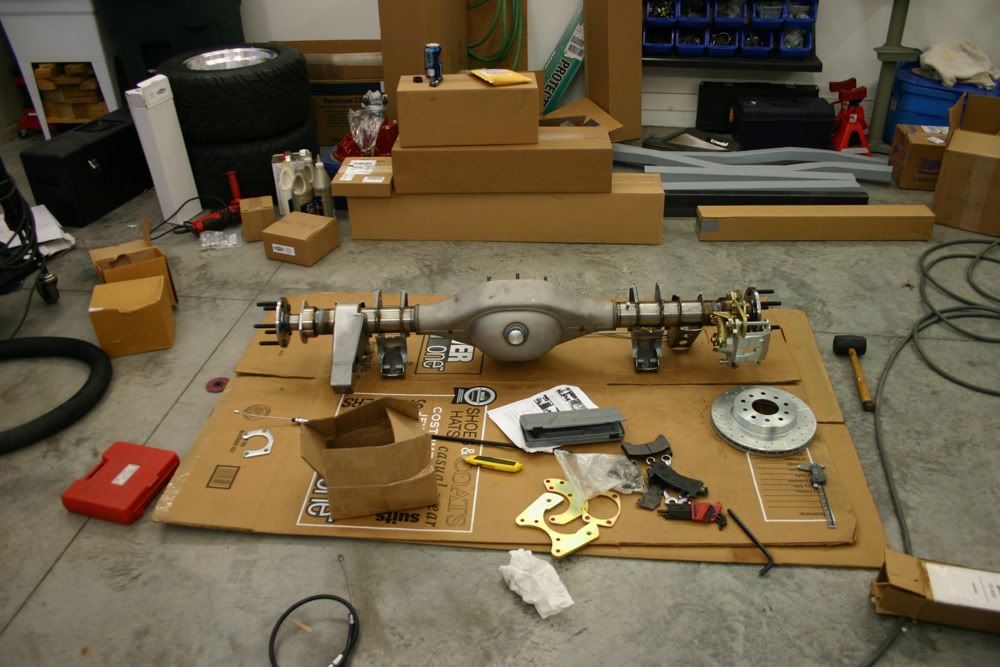
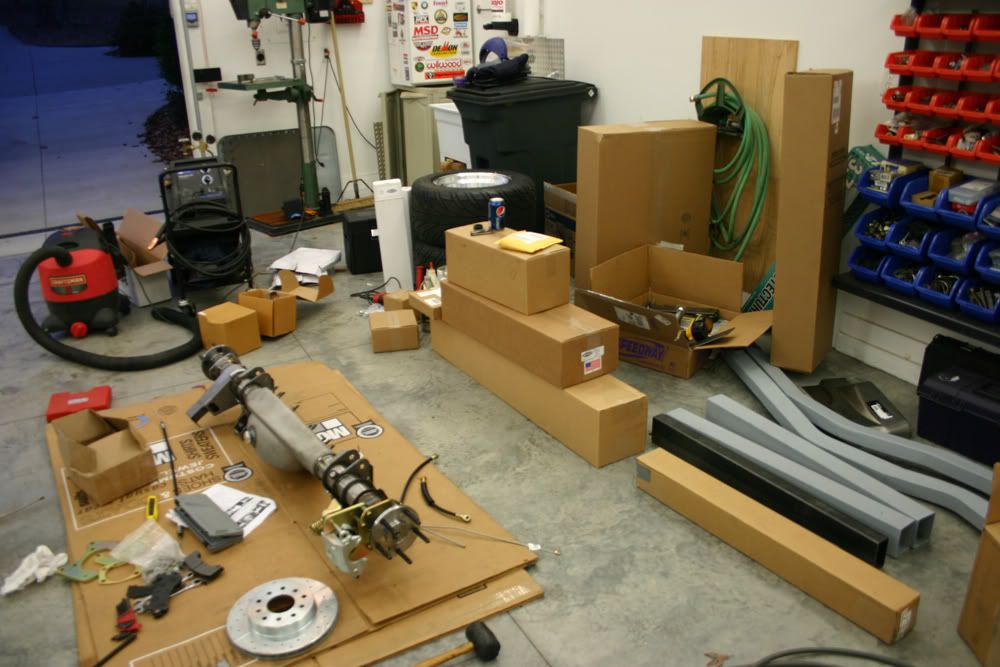
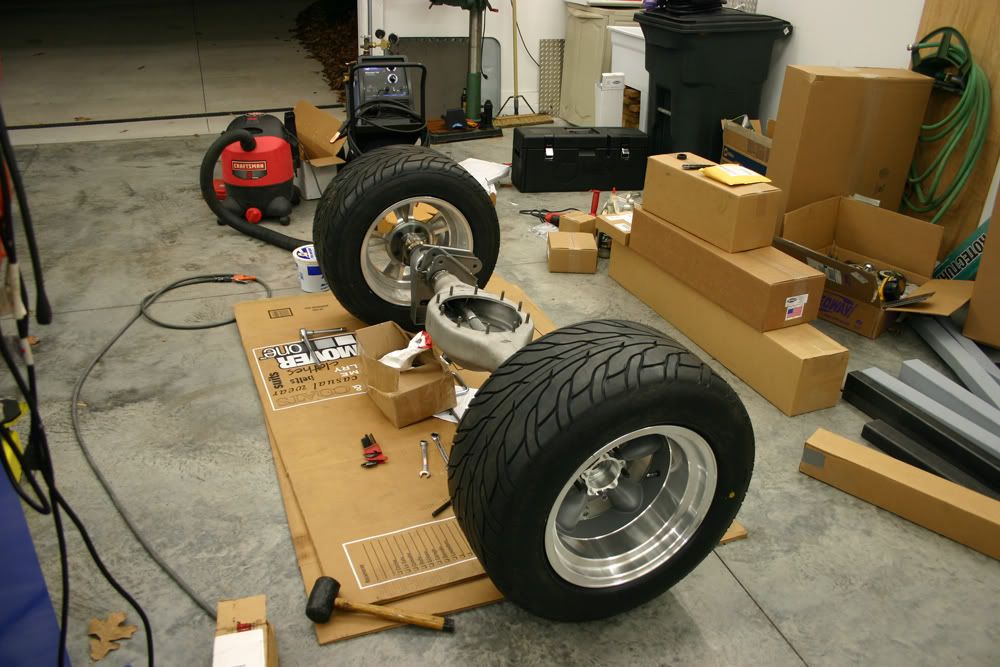
My neighbor had two extra stalls and graciously allowed me to take my cars there so we would have the entire garage for this project. Today my son hauled all of the various parts to my house. After unloading them from his sagging '79 El Camino, we trial assembled the rear disc brakes along with his new 15x10 Torque Thrust wheels. Everything fit as it should.

11-21-11mattsm.jpg


11-21-11parts4sm.jpg


11-21-11parts3sm.jpg


11-21-11rearbrakes3sm.jpg


11-21-11rearaxlesm.jpg


To make cutting out the frame members, wheelwell sheet metal and the metal for installing the frame extenders, he bought a plasma cutter. He has been practicing with it in making some of the gussets that will be needed.

11-21-11plasmacuttersm.jpg


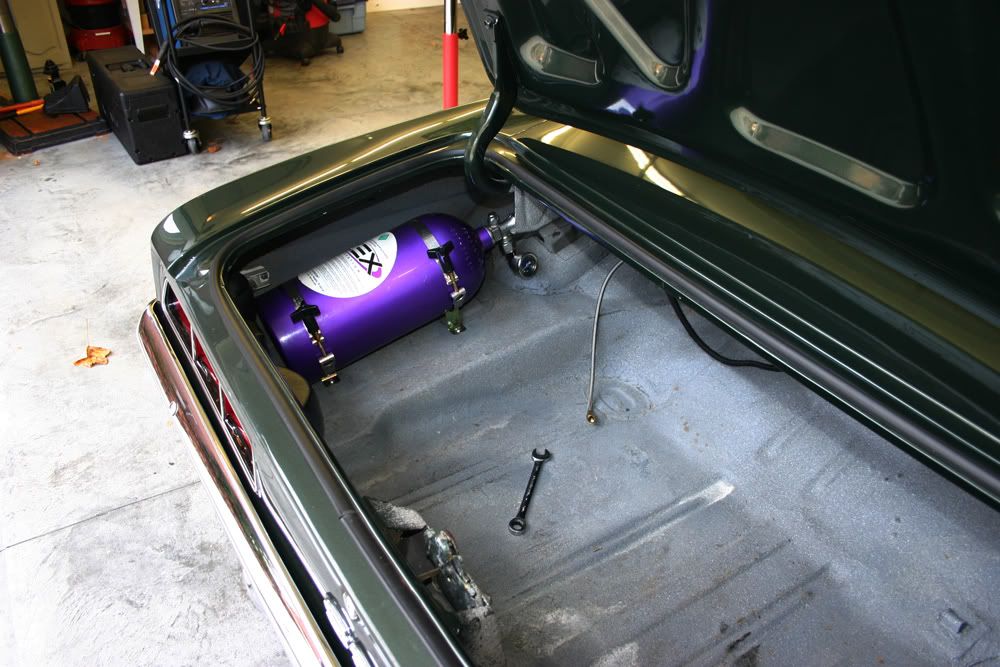
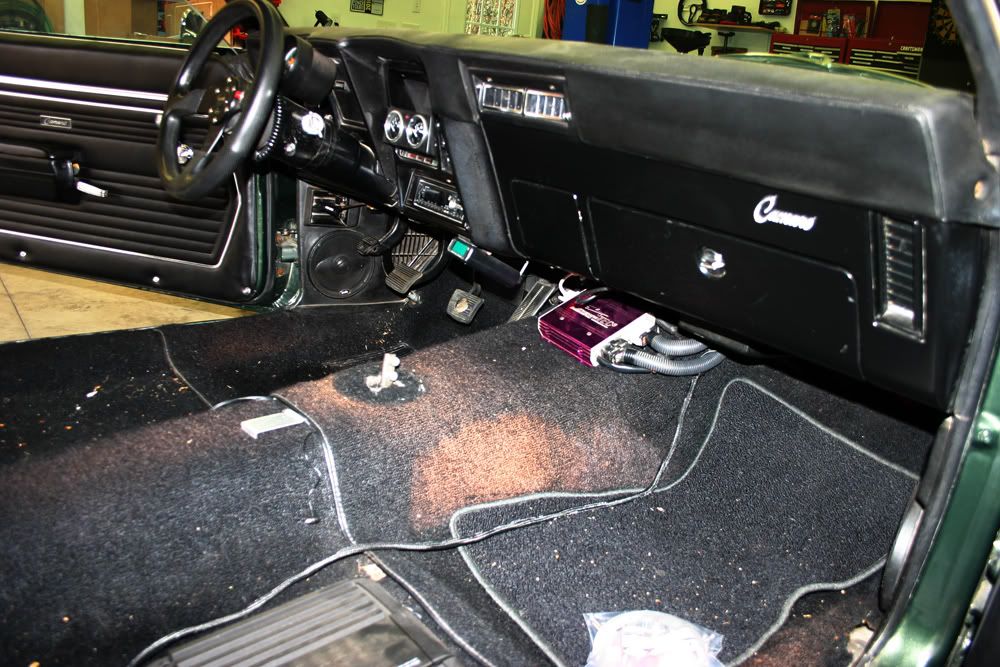
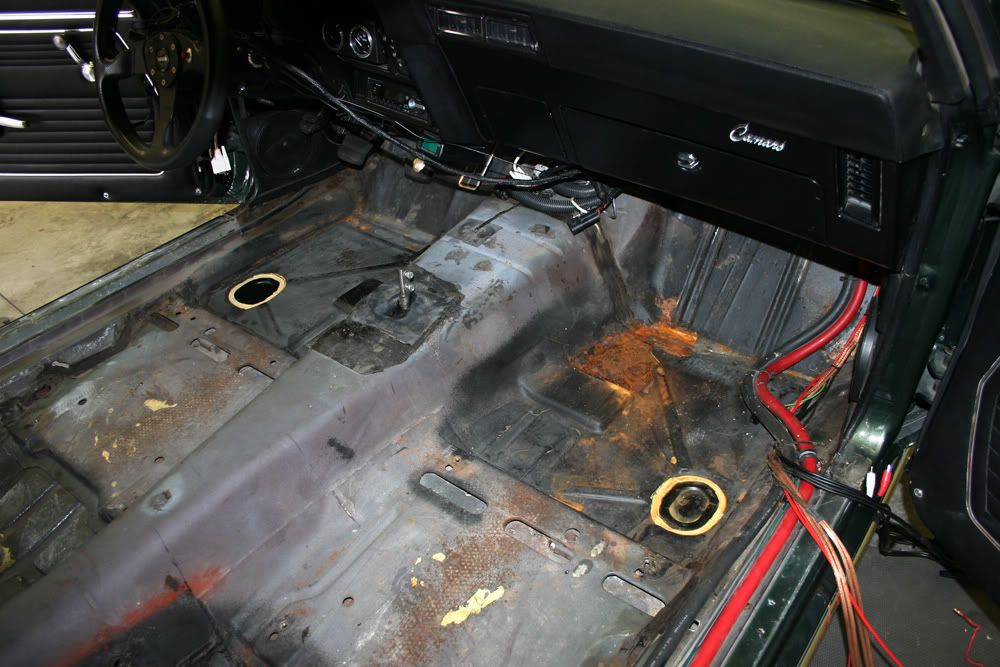
Tomorrow he is bringing the car over and we will begin taking out the interior, remove the rear end, springs, gas tank, etc. It should be interesting.
 
This site may earn a commission from merchant affiliate links like Ebay, Amazon, and others.

68400BIRD

Veteran Member
Feb 7, 2006
2,900
GO PACK GO
Start a project progress thread. If I can have a 1st gen Firebird thread you are more than safe having a 1st gen Camaro thread.
 

jerhofer

Veteran Member
Jun 4, 2009
490
Rockwell, NC
Those are Recaro seats and it is a MOMO steering wheel. Matt installed the steering wheel not long after he got the car. He worked for Michelin for 12 years designing race tires. Michelin posted him to France for three years and I stored the Camaro for him. I found the seats and installed them while I had the car. I also installed the Cal Tracs while I had the car so we both have time invested in this car.

The pictures of Matt's engine on the original post were old photos. I took some of the current setup today. He made all of the carbon fiber pieces you see with the exception of the valve covers. I got a call from him from France and he told me he needed some measurements of the Hilborn intake manifold. He wanted me to use a ruler to show the scale. I happened to have a very purple and white ruler which showed up great in the photos. From these 30 photos, he designed all of the linkage, the sizes he need to make the trumpets, where the injectors would go after he drilled the holes, and to allow enough clearance for the hood to clear all of this. On top of that, he built an oven in his garage to cure the carbon fiber pieces. He said he nearly burnt down his French garage.

hilbornwithstacks3.jpg


hilbornwidthbetweenstacks8.jpg


11-22-11enginebaysm.jpg


11-22-11enginebay5sm.jpg


It was a long day but we accomplished a lot today. Matt decided it would be best to mock up the axle with the brakes and lines to make sure everything fit. All was well on one side, but the other presented a problem. He could not install the long bolt that holds the brake pads as it interfered with a bracket on the axle. Our first thought was to drill a hole in the bracket so we could pass the bolt through it. However, as luck would have it, the place we needed to drill a hole was exactly on one of the welds. Time for plan "B"

After some discussion, it was decided that we would have to install the caliper with pads to the mount and then install the mount to the axle. This presented another problem as the nuts were not accessible once we mounted the rotor. The solution was to weld nuts on the back side of the mount so we could install the bracket. This makes changing the pads on this side a royal pain in the !@#. However, since rear brake pads wear so slowly, it was a compromise we could live with.

11-22-11axlesm.jpg


11-22-11axle7sm.jpg


We also had to modify the brake line holder to accomodate the fitting with it's locating keys. Matt also welded on a stud to hold the distribution block for the brake lines. Once he was sure everything fit, he removed all of the parts so he could have the axle housing either painted or powder coated.

11-22-11axle3sm.jpg


11-22-11axle4sm.jpg


11-22-11axle6sm.jpg
 

jerhofer

Veteran Member
Jun 4, 2009
490
Rockwell, NC
While Matt was working on the axle, I was preparing the trunk and interior. Everything had to come out of the trunk including the battery and the NOS bottle.

11-22-11trunksm.jpg


11-22-11trunk2sm.jpg


Now it was time to remove the seats, carpet, electronics, rear side panels, seat belts, etc. He had the floor pans replaced about three years ago but a problem surfaced on the passenger side. It appears condensation is leaking from the AC system and is pooling in that footwell. We will have to look into that. The pans under the rear seats are original and have some very slight surface rust. Overall, it looked better than Matt expected. We are going to replace all of the original insulation pieces with Dynamat. After pulling the carpet and seeing how faded and worn it was, I now know what his Christmas present will be!

11-22-11interior2sm.jpg


11-22-11interior13sm.jpg


11-22-11interior11sm.jpg


He uses a Tec 3 computer to control the fuel injection.

11-22-11interior4sm.jpg


After lunch at Mickey D's and his fourth stop at Ace Hardware to buy fasteners, we began to attack the bottom. First thing to go was the exhaust, then the drive shaft and the gas tank. He is replacing the brake lines so we cut out the old ones rather than trying to remove the rusted fittings.

Time to get the big heavy rear end out of there. Matt was very concerned about the chang in the balancing point once we removed the axle and leaf springs. We sure did not want the car to tip off the hoist so we tied the car to the hoist with tie down straps. Good thing because even with the straps in place, the rear of the car came up off the supports. We had to ratchet the straps even tighter. Plus the driver's door now did not want to close. To put some weight on the rear, we put three five gallon pails in the trunk and filled them with water. The door now closed. When we are cutting and fitting everything, we are going to use my tall jack supports under the front end to make sure the car stays in alignment.

11-22-11tiedownbodysm.jpg


11-22-11trunk4sm.jpg


We remounted the wheels and tires, removed all of the fasteners, and then simply raised the car away from everything. Worked like a charm and it was now 6:30PM and time to quit for the day.

11-22-11bottom3sm.jpg


11-22-11bottom5sm.jpg
 

jerhofer

Veteran Member
Jun 4, 2009
490
Rockwell, NC
Patrick73RS said:
Looks great. I would move this thread to the right section. Keep the updates coming

Since it was not about a 2nd gen, I wasn't sure where to put the thread. I don't know how to move a thread or where to move it to.
 

Latest posts

Top